DIY activities

Easter Activities

Here are some easter activities which you can do:

Making Easter Eggs

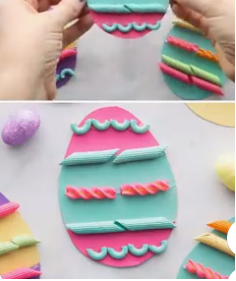
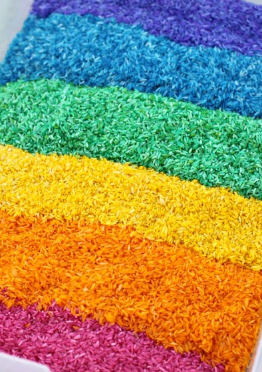
To make the coloured pasta, simply add pasta and paint to a ziplock bag, shake and let them dry. Then cut out a shape of an egg on a cardboard paper and let the children express their creativity.

Easter Egg Tracing

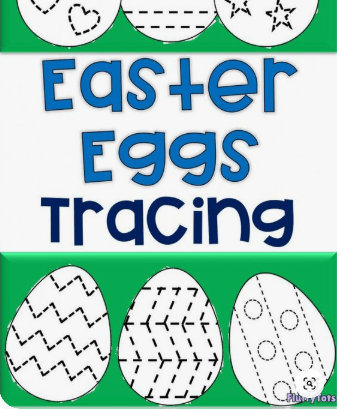
Help your child improve his pre-writing skills by printing these easter eggs. Encourage the child to hold the pencil or crayon properly and trace over the lines. Click here to download the free printables.

Easter Egg letter salt tray

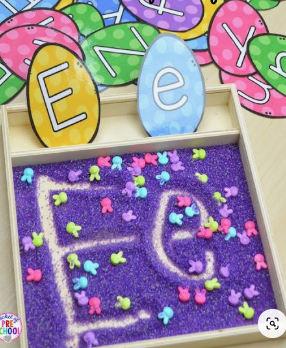
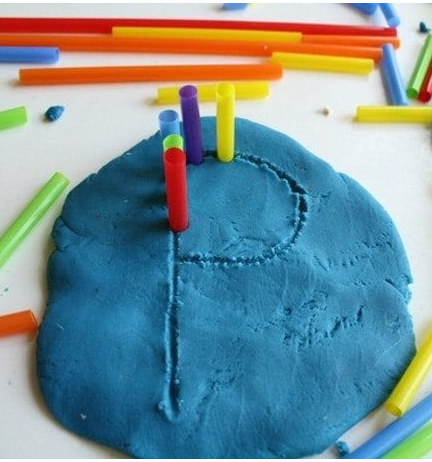
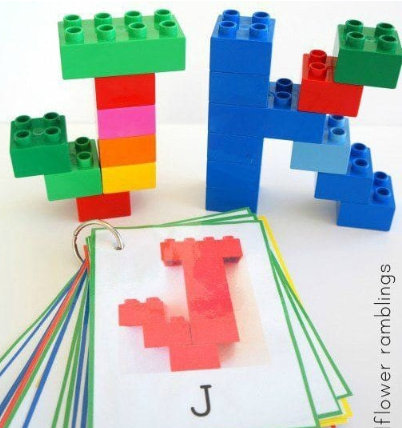
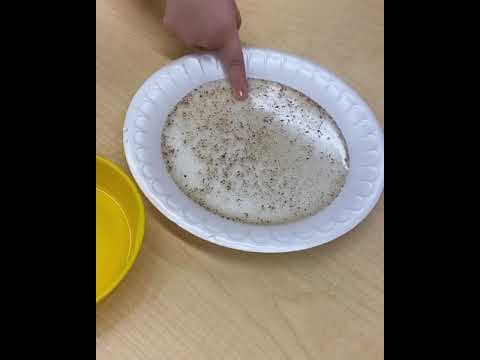
Print lowercase letter flashcards on a shape of an egg (you can also make them youself) and then make a salt tray (using a flat surface container and salt). Encourage the child to say the letter and then write it in the sand tray.

Toilet Paper Rabbits

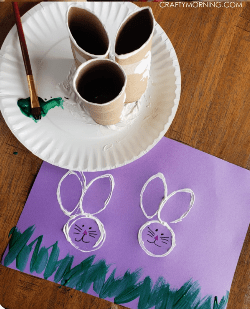
Make the template of the bunny using 3 rolls and gluing them on a plate like the picture above. Then use some white pate and paste it on a coloured paper.

DIY activities, Educational Games

Pre-writing activities

Here are some fun activities which help develop the pincer grasp, hand-eye co-ordination and fine-motor skills while also having some fun.

Play-dough and drinking straws

write different letters on play-dough and encourage the child to trace the letter with cut-up straws. (Make sure that the letter is large enough to still be recognisable when traved with the straws).

Blocks

Children can’t get enough of blocks. Improve their literacy skills by encouraging them to build letters using blocks. Click here to get free printable letter cards.

DIY Salt Tray

  • Get an empty tray.
  • Tape different coloured sheets on the bottom of the tray.
  • Add salt to the tray. (Optional: add food colouring to the salt).
  • Make flashcards containing numbers or letters.
  • Encourage the child to write the letter/number in the salt tray, either using their fingers/unsharpened pencil in order to practice writing.

DIY activities

Dyed rice for sensory play!

Ingredients

  • water
  • vinegar
  • rice
  • food colouring

Instructions

  • Measure 1 cup or rice for every 1 tablespoon of vinegar.
  • Put the rice and vinegar in a plastic bag and add food colouring.
  • Shake well and lay on baking paper to dry.

Lots of learning opportunities emerge from sensory play like this. During rice play, the children develop their fine-motor skills, pincer grasp and hand-eye co-ordination, which are all valuable pre-writing skills.

This type of play also allows for the children to express their creativity and imagination. Along with the dyed rice, you can also let the child add different toys or resources in order to act out a scene of create a theme.

DIY activities

Playdough Recipe

Method

  • Mix food colouring with your water first.
  • Add the vegetable oil and water with food colouring to a large pot.
  • Add the dry ingredients to your pot and mix well.
  • Cook over low to medium heat until the dough starts to form and becomes dry.
  • Once it starts to form a ball, turn off the heat.
  • Once cool, knead for 5 minutes.
  • Have fun playing with the play dough!
DIY activities, Jungle Safari

Animal Cracker Parfait Recipe

Ingredients:

  • Animal crackers
  • 1 ripe banana
  • 1 yogurt (any flavour)
  • 1 clear container
  • A rolling pin

Steps:

  1. First crush some animal crackers in a plastic bag. You can either use a rolling pin or anything containing a flat surface. (E.g, We used a plastic container)
  2. Put the crushed crackers in the container.
  3. Then, add 2 scoops of your favourite yogurt to the container.
  4. Cut the banana into slices, carefully using a knife.
  5. Finally, add have a sliced banana in the container.
  6. You can also top it off with some more animal crackers.
  7. Enjoy!
DIY activities, Jungle Safari

Zebra Slime Recipe

  1. To make the white slime, use one bottle of white school glue and pour it into a bowl.
  2. Then fill the glue bottle up with warm water, shake the bottle, and pour the water into the bowl with the glue.
  3. Mix everything together with a large craft stick.
  4. Add 3 ounces of liquid starch and slowly mix everything together.
  5. Once it starts to pull away from the bowl, knead the slime.
  6. Once it reached the consistency wanted, set it aside.
  7. Repeat the process, but this time, add black liquid watercolours to the mixture in order to create the black slime.
  8. Intertwine the two different coloured slime in order to create the zebra pattern.